Knowledgebase Contents
Overview

Portal Features
Here are some of the key features that make the portal so helpful.
Signing up for the portal only requires some basic information (name, email, and password).
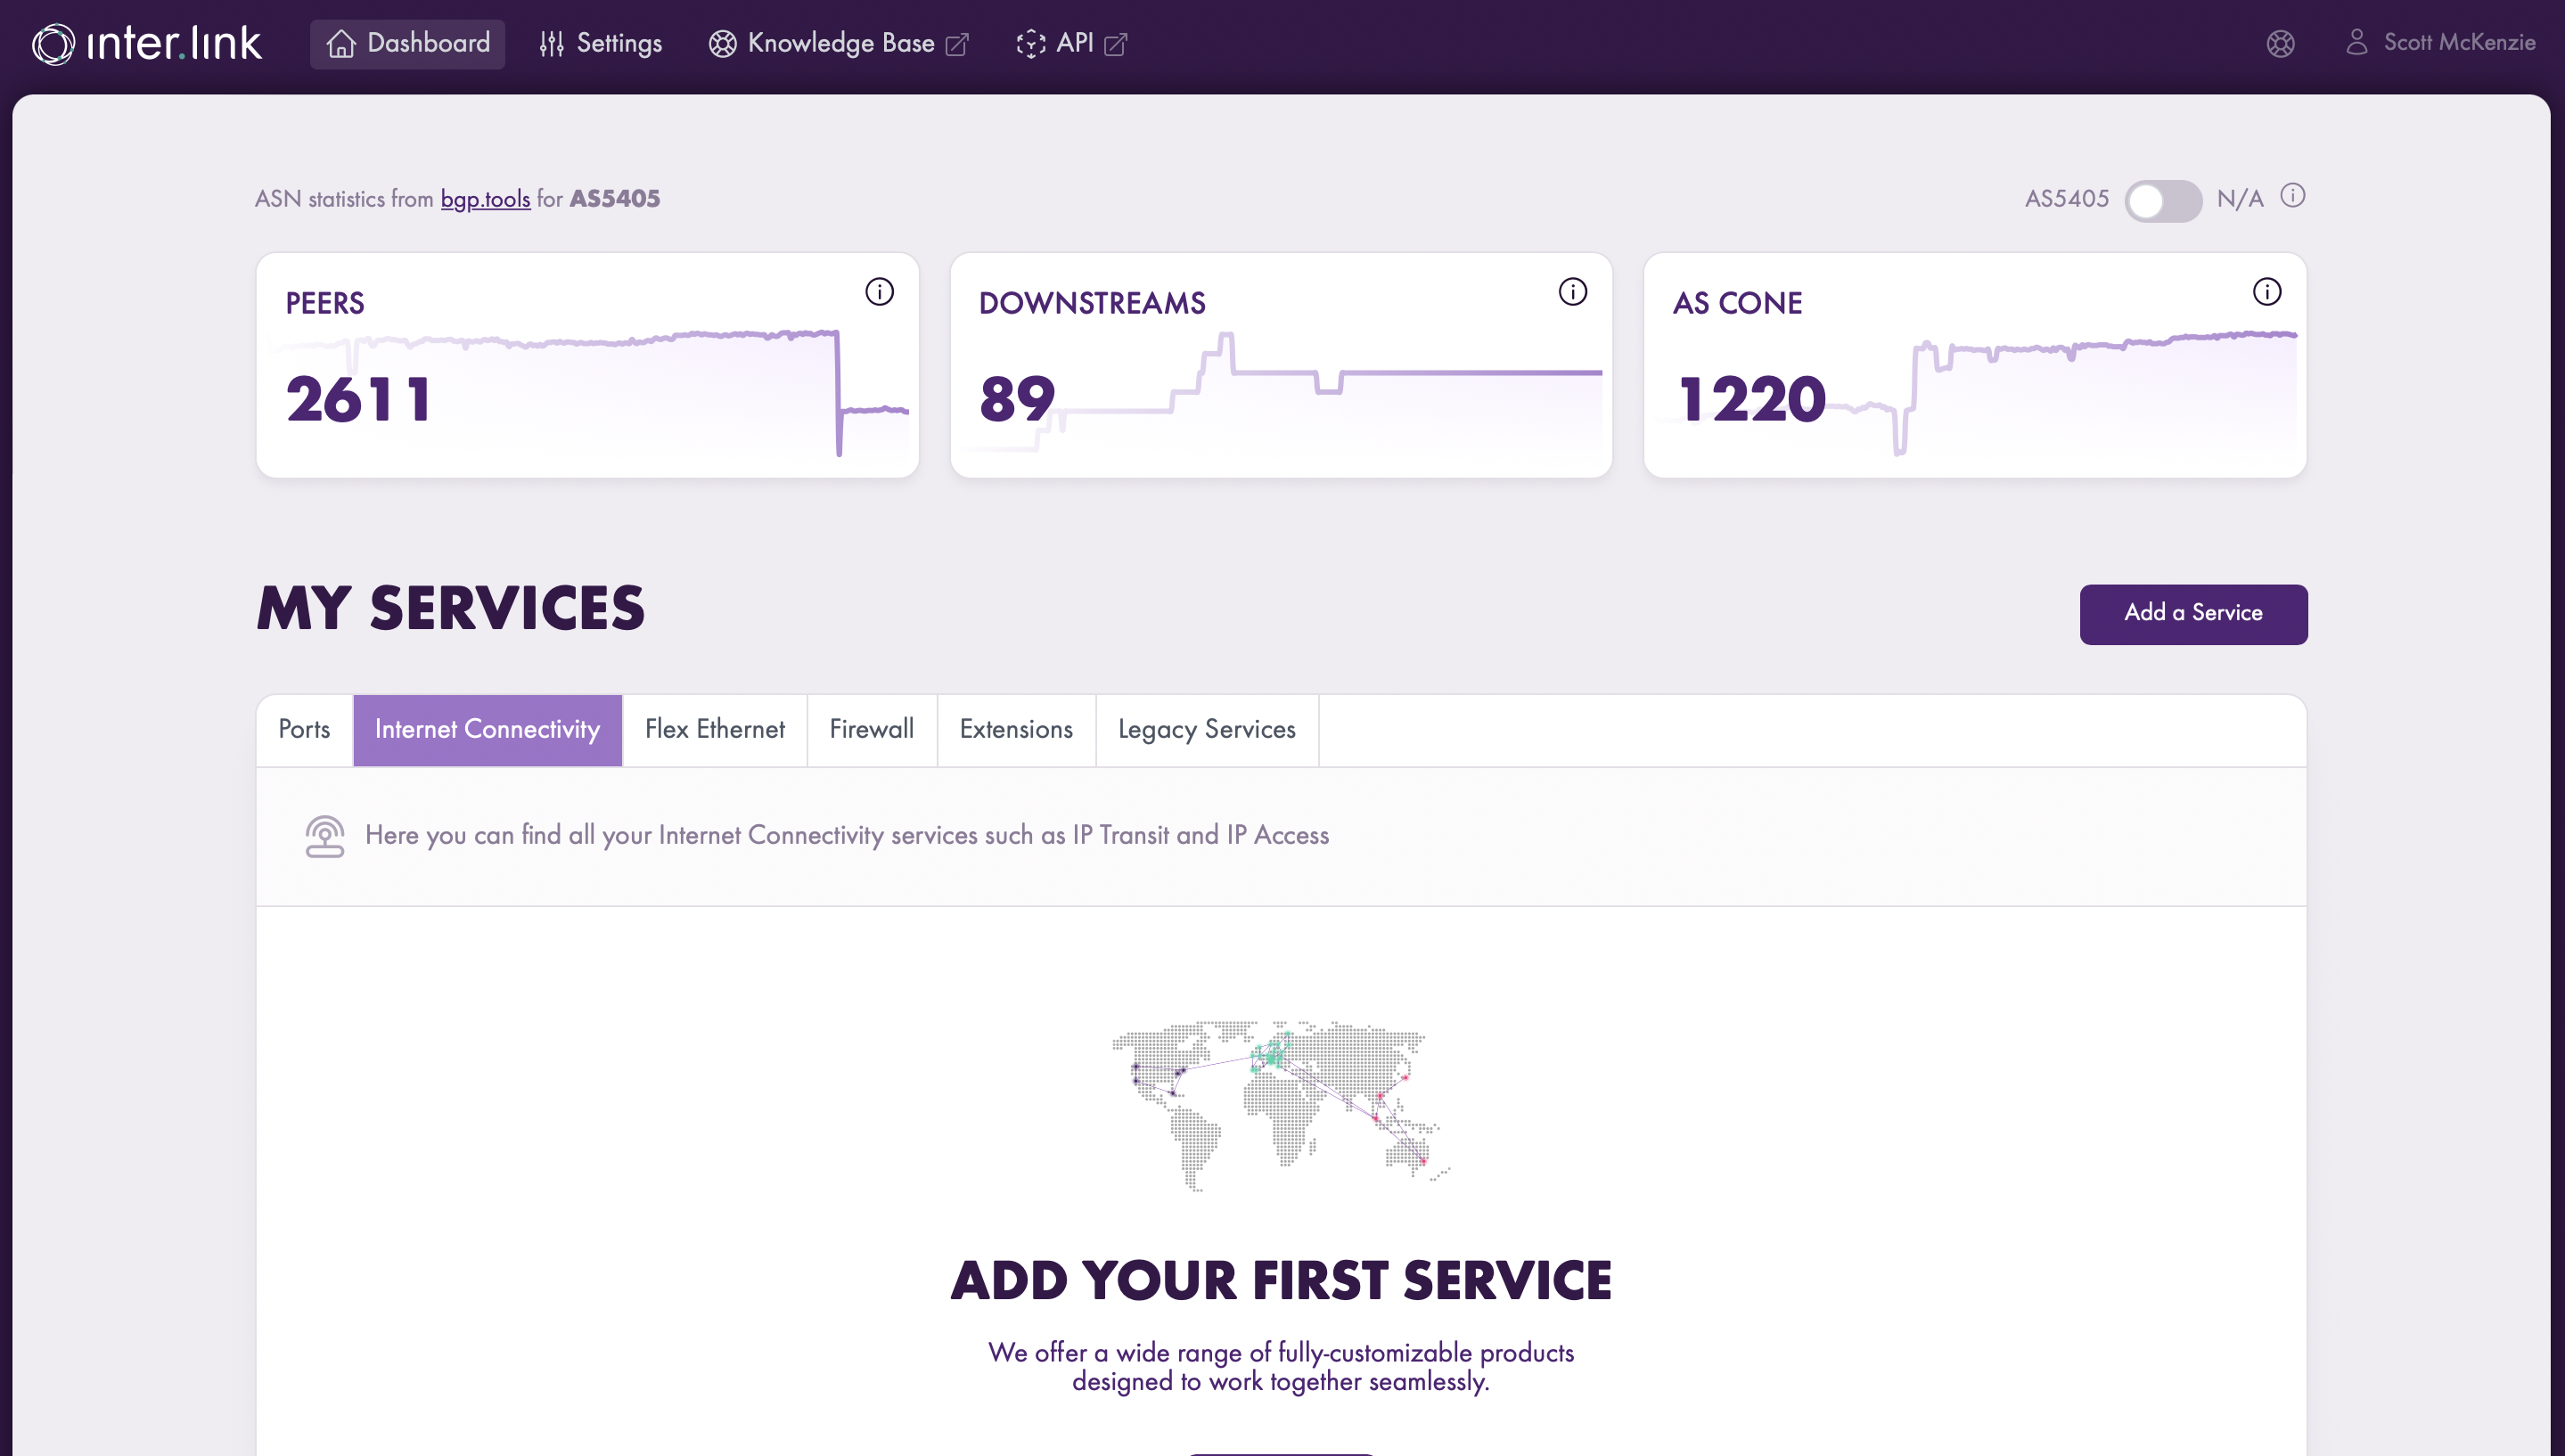
The most important information should be easy to find, not hidden. That’s the idea behind the Inter.link dashboard.
Customers can find everything from the latest news and products from Inter.link to general news from the network industry.
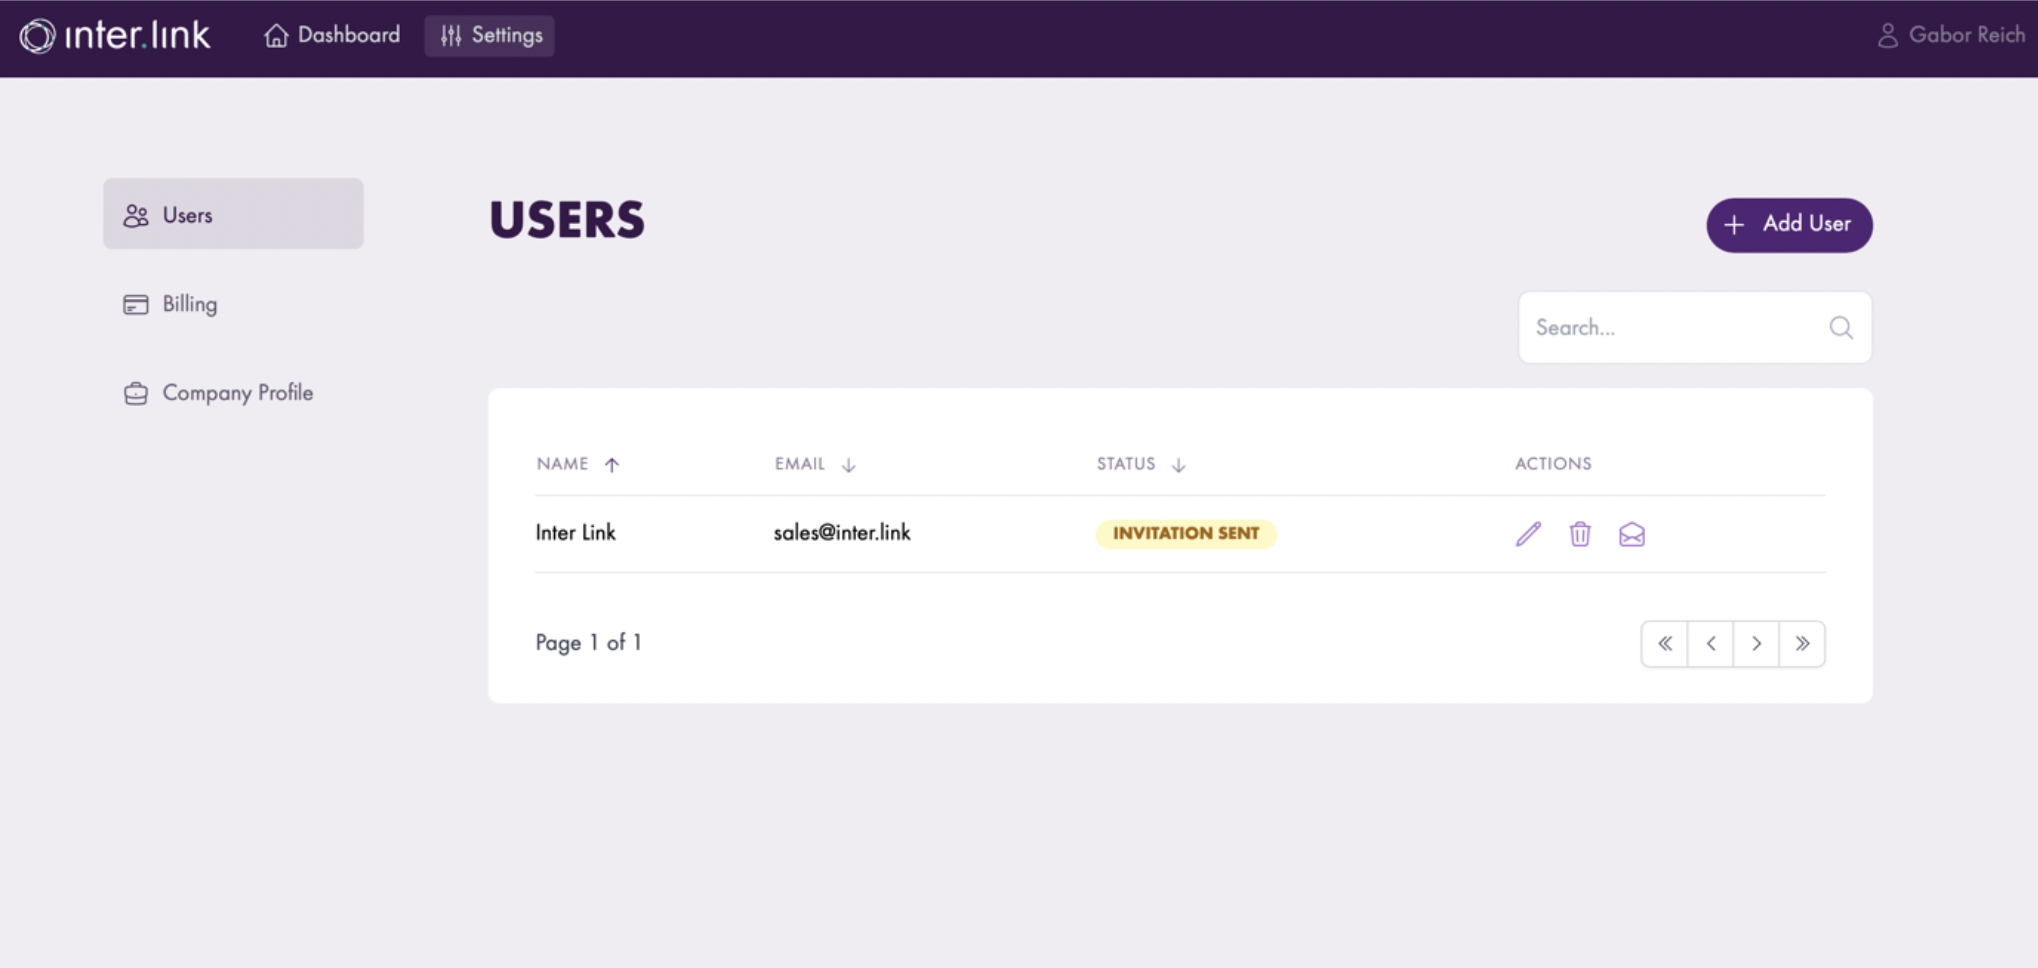
Additionally, when customers invite anyone to join, they will receive an invitation and the invitation status (invitation sent) will be shown.
The portal has been designed to be customisable.
Customers can build their exact solution based on location, prefix, port speed, and more.
This means all it takes is the AS Number and the portal will automatically pull and populate the relevant information, such as AS-SET and prefix limit.
Any changes can be made by clicking a few buttons rather than digging through layers of information.
Users can also receive a quick overview of when tickets were created and last updated.
There’s also no more hunting for an invoice since it can be downloaded with one click.
Getting Started in the Portal
The portal is accessible by clicking ‘Inter.link Portal’ in the top right corner of the Inter.link website.
Step 1
The first step is to fill in the required details, then click to sign-up.


Step 2
After signing up, the main dashboard will appear.
Click on the ‘Settings’ button in the top left, then click ‘Setup Company Profile’ and fill in the required details and click ‘Proceed’.


Inviting Users to the Customer Portal
Step 1
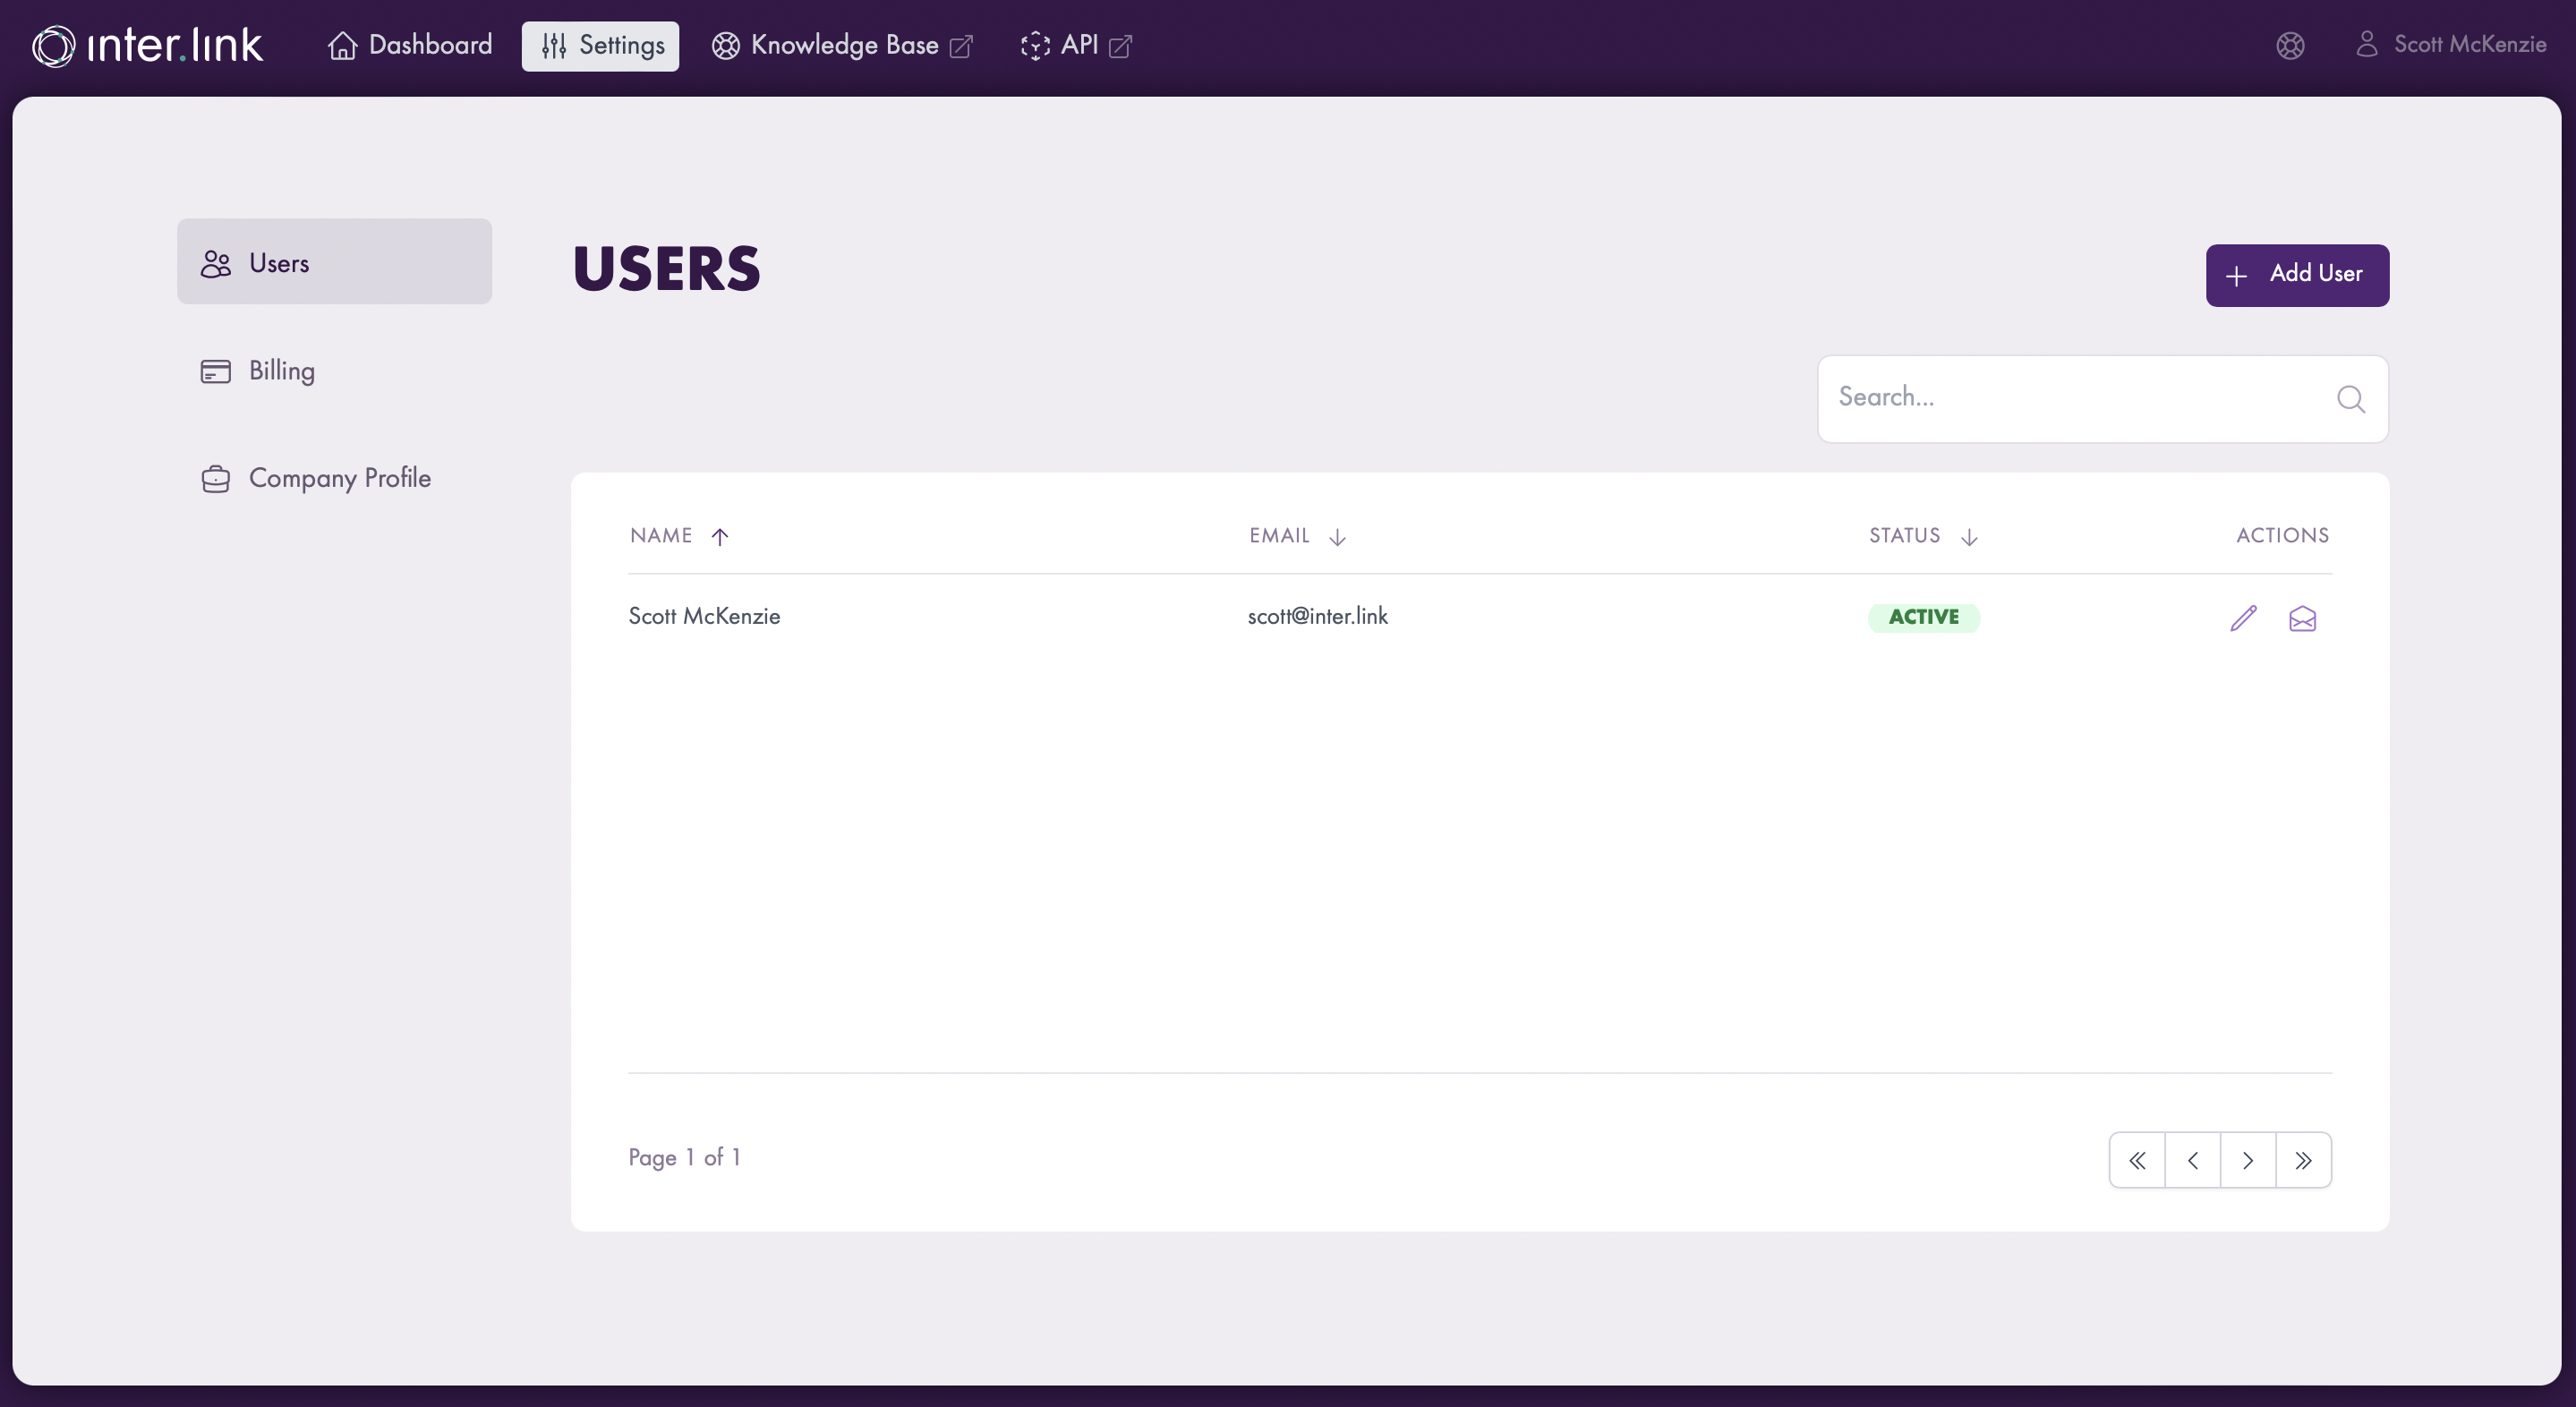
In the ‘Settings’ section, click ‘Add User’ then fill in the new user’s details and click ‘Invite User’.


Step 2
The invited user receives an email asking them to join the Inter.link portal.
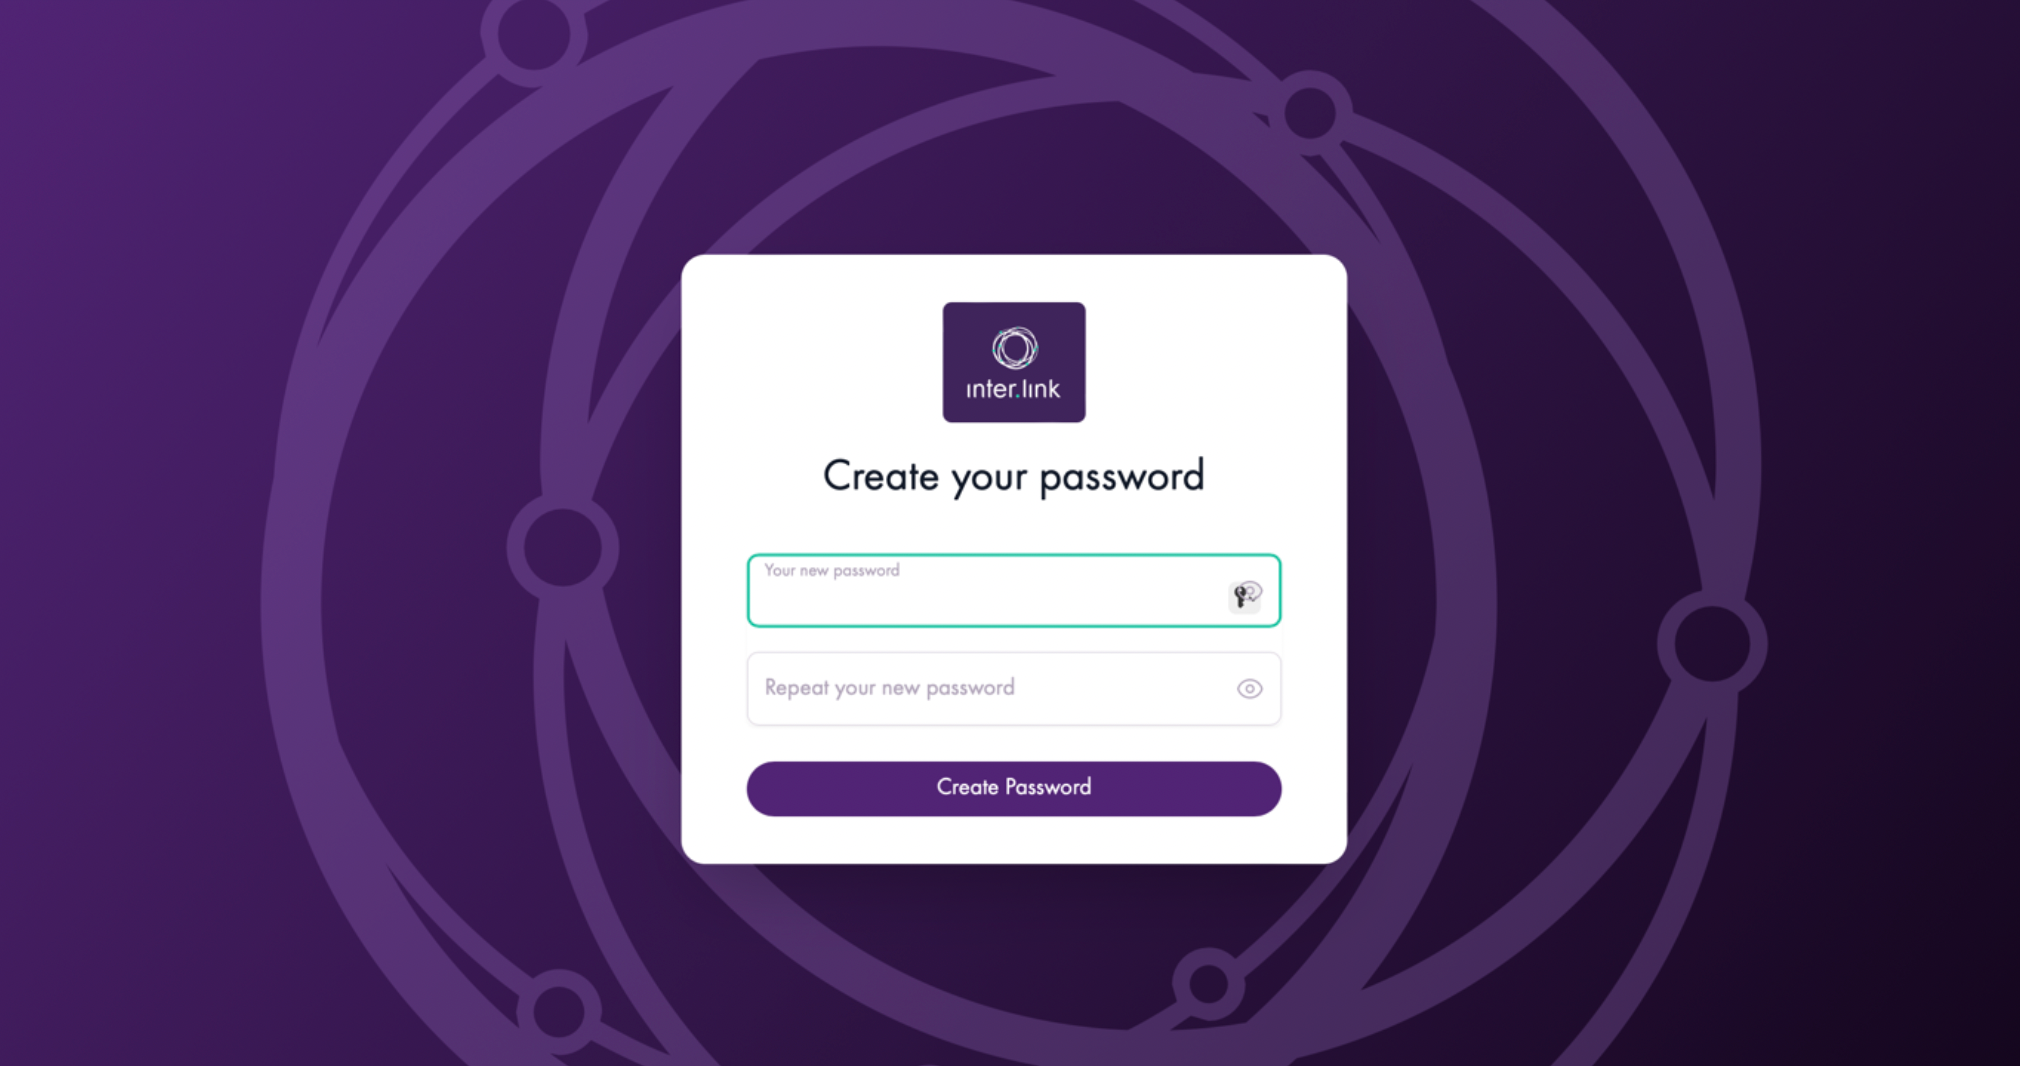
All they need to do next is pick their password and sign in, then they will appear as a new user in the ‘Users’ section of settings.


Deleting users from the portal
In the ‘Users’ section, it is also possible to delete users by clicking on ‘Actions’ and selecting ‘Delete’ then ‘Proceed’.


Ordering services from the portal
Ordering services through the portal is explained on the respective service pages within the knowledgebase. Navigate to those pages by clicking below, then scroll to find instructions on how to provision that particular service.
